Migrating from JIRA to OpenProject
Last edited on: March 25, 2026.
The OpenProject team is actively developing the JIRA Migrator, an import tool for Jira Data Center. This feature is under active development. We release new features with every release. Information on this page may change as new migration options become available.
Take a look at this video introducing the JIRA Migrator.
Este vídeo está actualmente disponible solo en inglés.
Purpose of the JIRA Migrator
With the end of life for JIRA Data Center, many organizations are evaluating OpenProject as a secure, open-source, and self-hosted alternative for project management and collaboration.
Alerta
This feature is under active development. Please only use it in test setups. We inform you about our progress and our recommendations when you can use it in production setups.
Data covered by the JIRA Migrator
This import tool is currently in beta and can only import basic data:
- Projects
- Issues (name, title, description, attachments)
- Users (name, email, project membership)
- Statuses
- Types
Data not covered by the Migrator yet
- Workflows
- Custom fields
- Issue relations
- Permissions.
Supported Jira versions
- We currently only support Jira Server/Data Center versions 10.x and 11.x.
- Cloud instances are not supported at this time.
Import preparation
Enable the feature flag
Navigate to admin/settings/experimental and enable the setting Jira import.
Setup the API connection
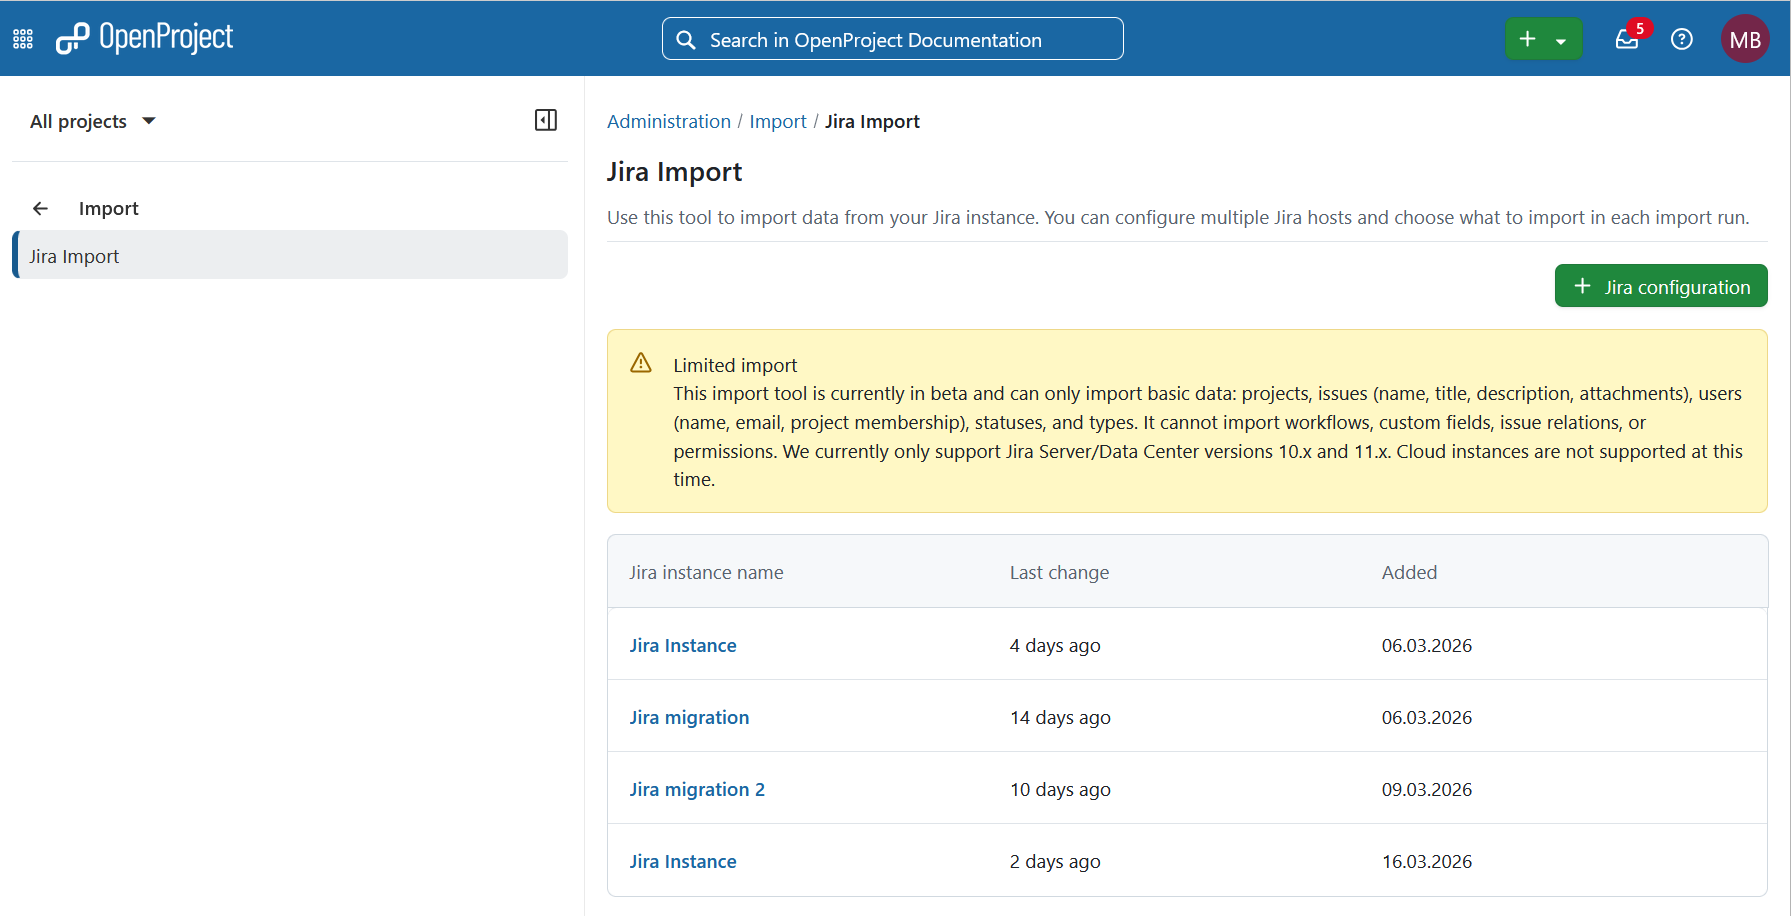
Navigate to Administration → Import. To create a new import configuration, click the + Jira configuration button.
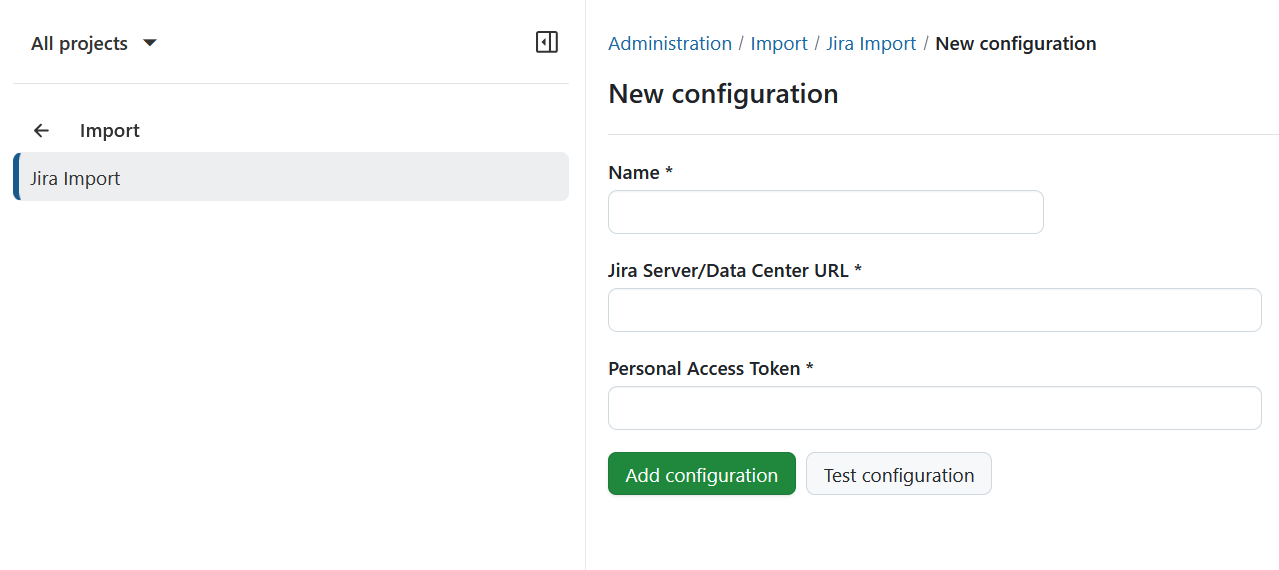
Provide the following details:
- A name for the import configuration
- Your Jira Server or Data Center URL
- A Personal Access Token. The migration tool requires a token with admin permissions. Otherwise you will get 403 error during the import process.
Test configuration
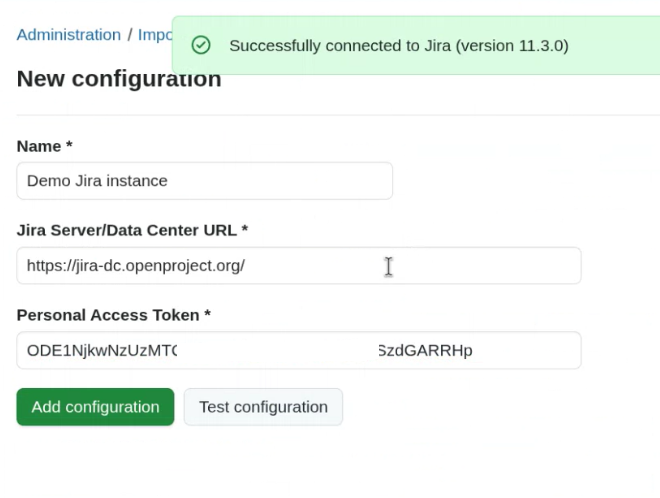
Click Test configuration to verify the connection.
 If the connection is successful, a confirmation banner will appear.
Click Add configuration to proceed to the import runs overview. Initially, no import runs will be listed.
Import run
You can import different sets of data with each import run. It is possible to undo an import run immediately after in review mode but not after finalizing.

Click Import run to start a new import.
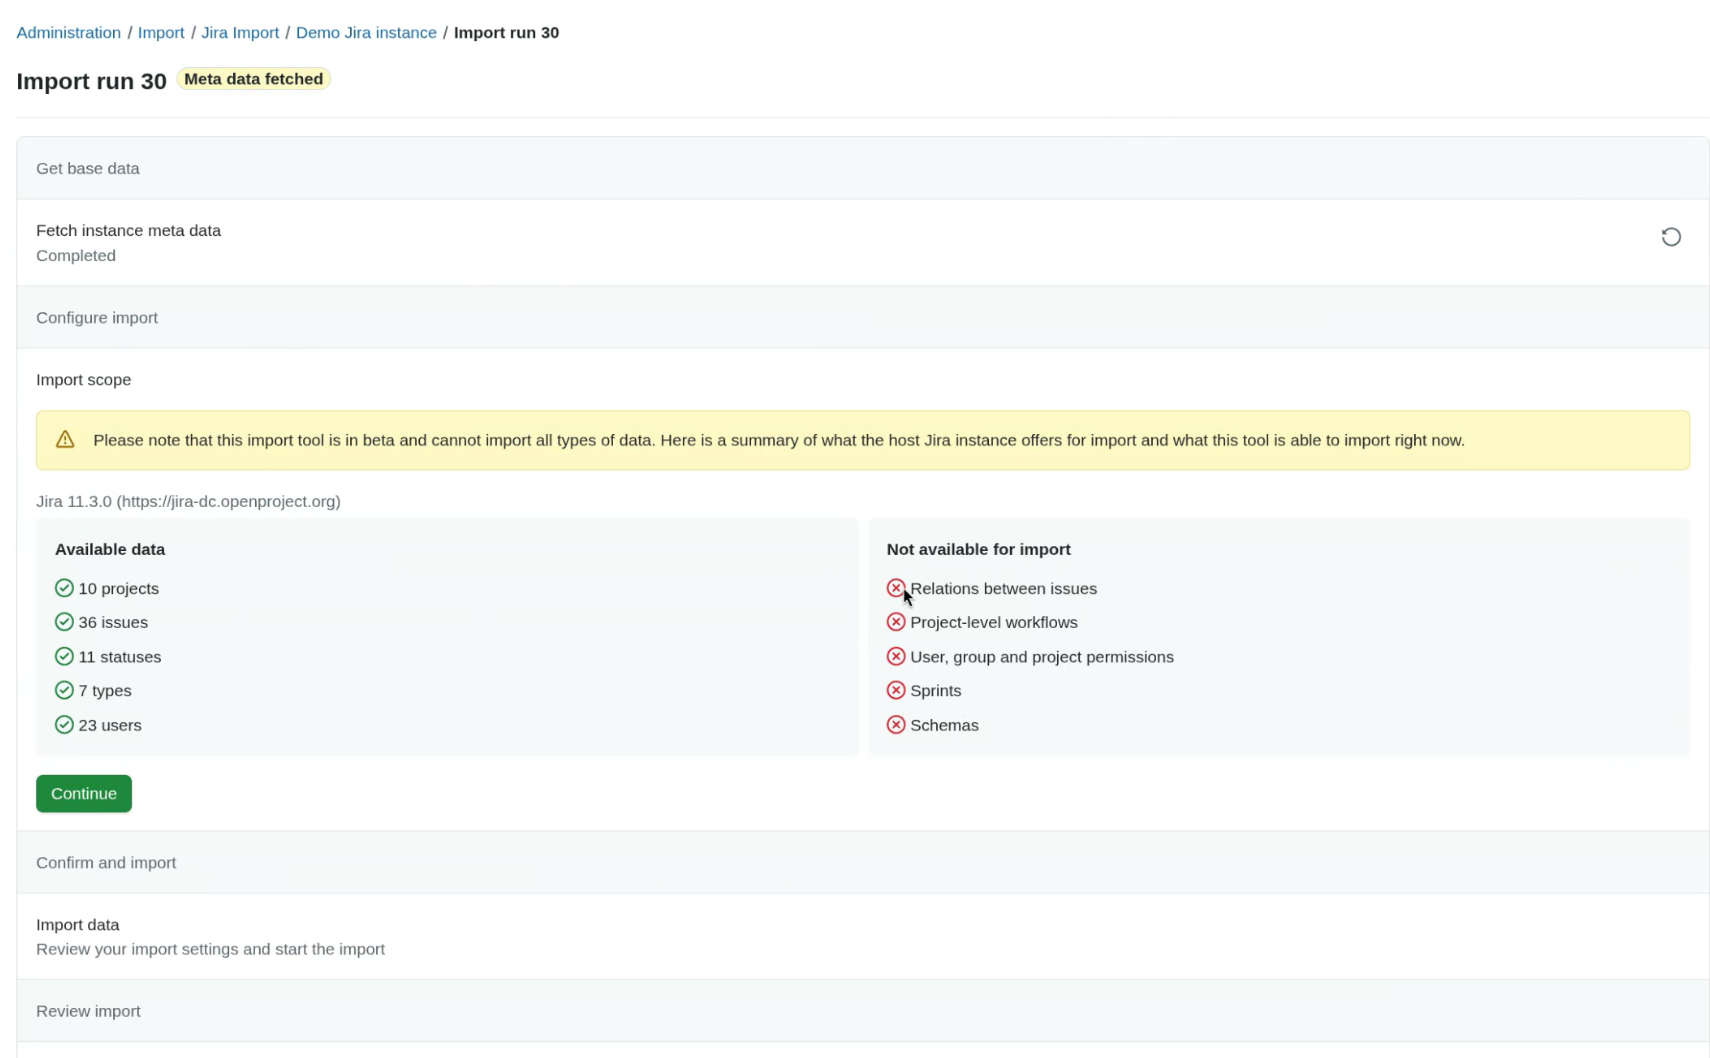
Check available data
In the Get base data section, click Check available data to retrieve metadata from your Jira instance.
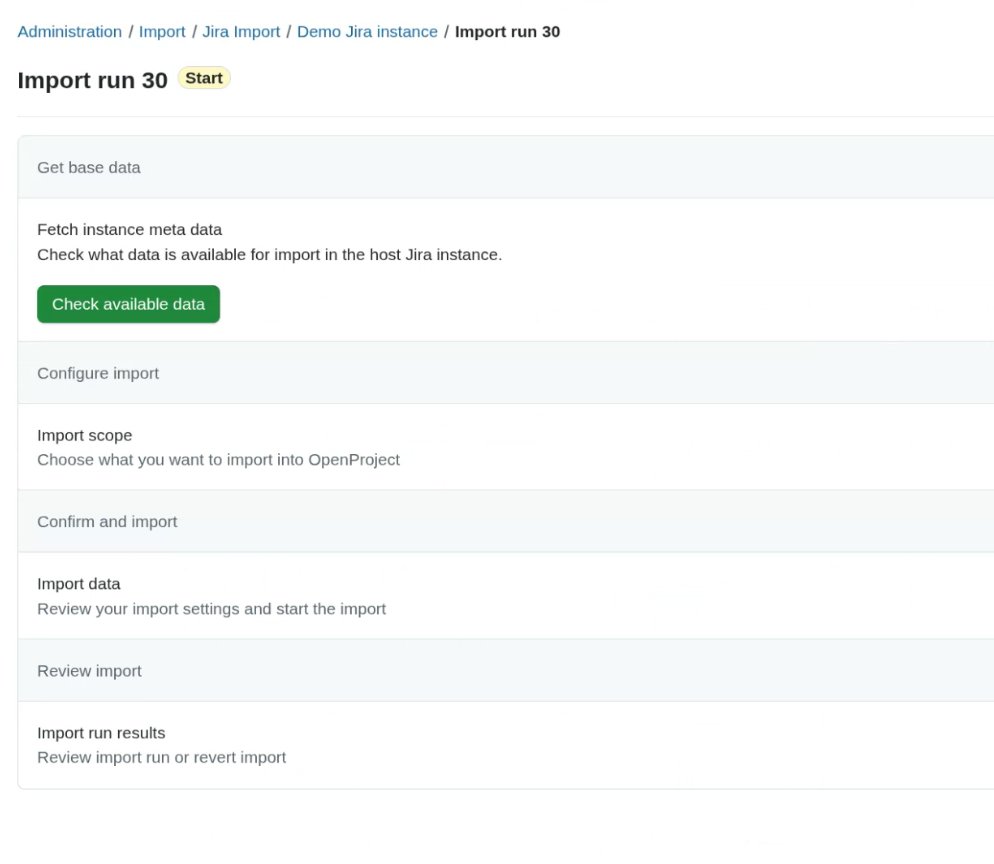
Once fetched, you will see which data can and cannot be imported. Click Continue.
Configure import
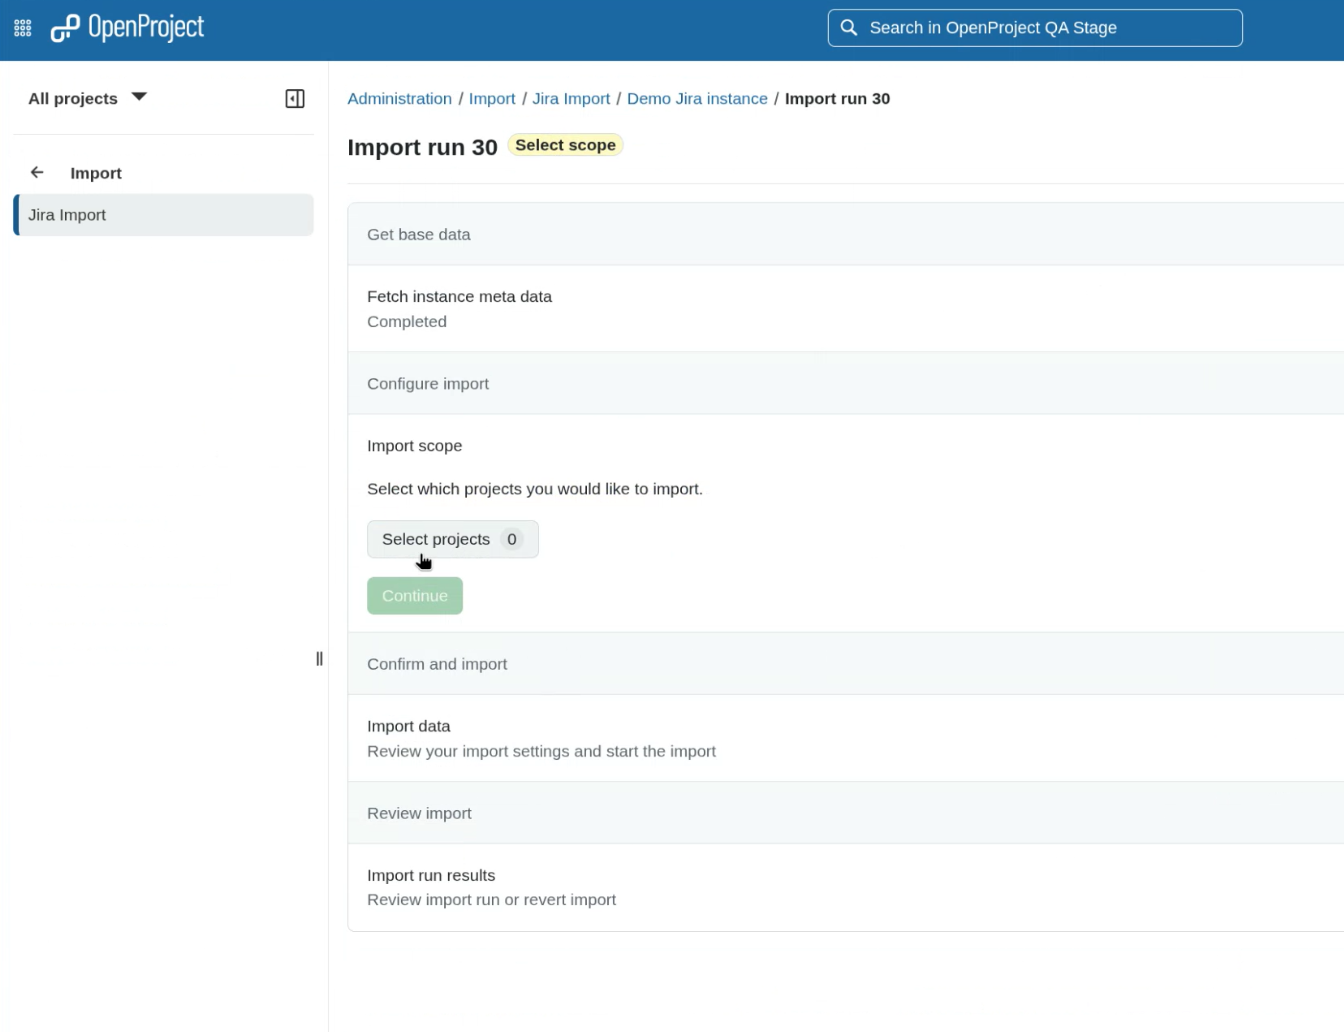
Select projects
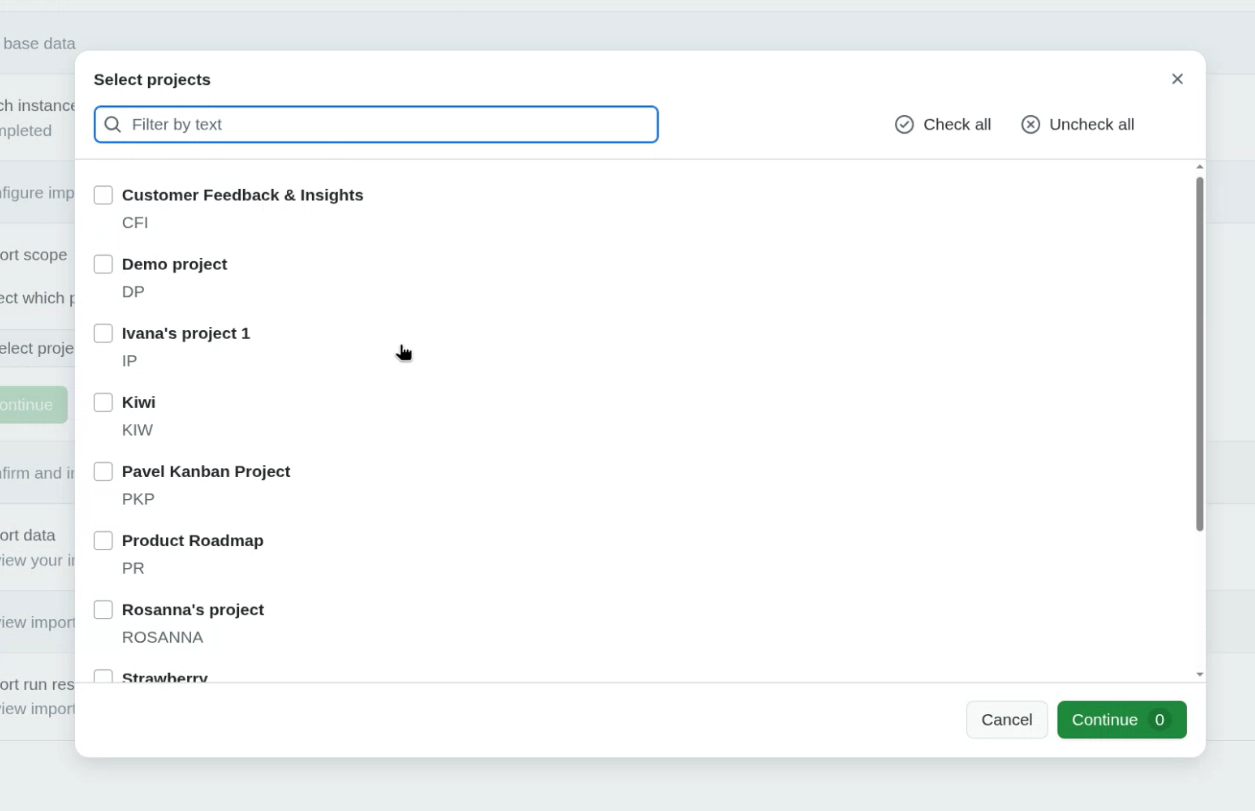
Next, select the projects you want to import. Click Select projects.
In the modal dialog, choose one or more projects and confirm by clicking Continue.
Start import
Click Start import to begin the import process.
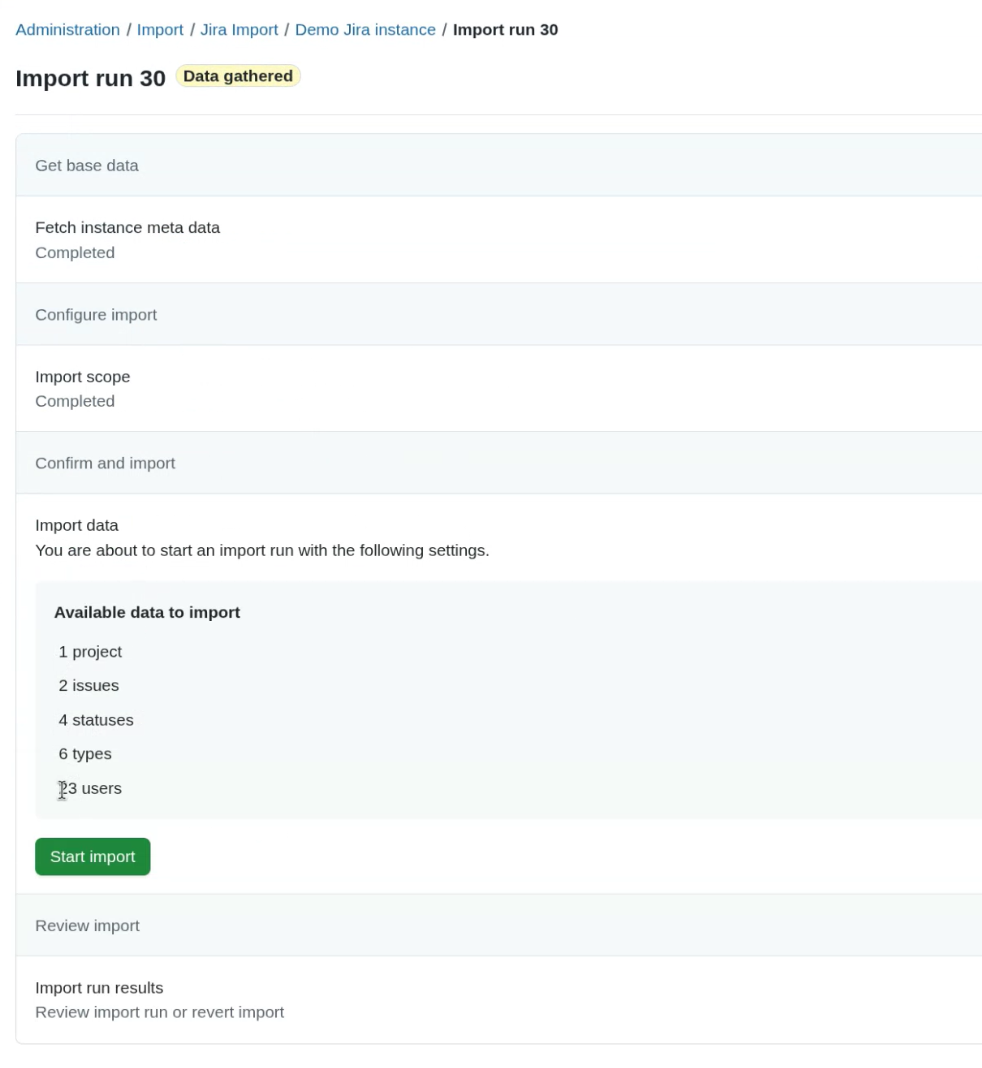
A warning dialog will appear. Confirm that you understand the limitations (e.g., incomplete feature coverage, recommendation to avoid production use, and the need for backups). Select I understand and click Start import.

During import, Jira wiki markup is automatically converted to OpenProject’s markdown format.
Consejo
If a user already exists in OpenProject from a previous import, they will not be duplicated.
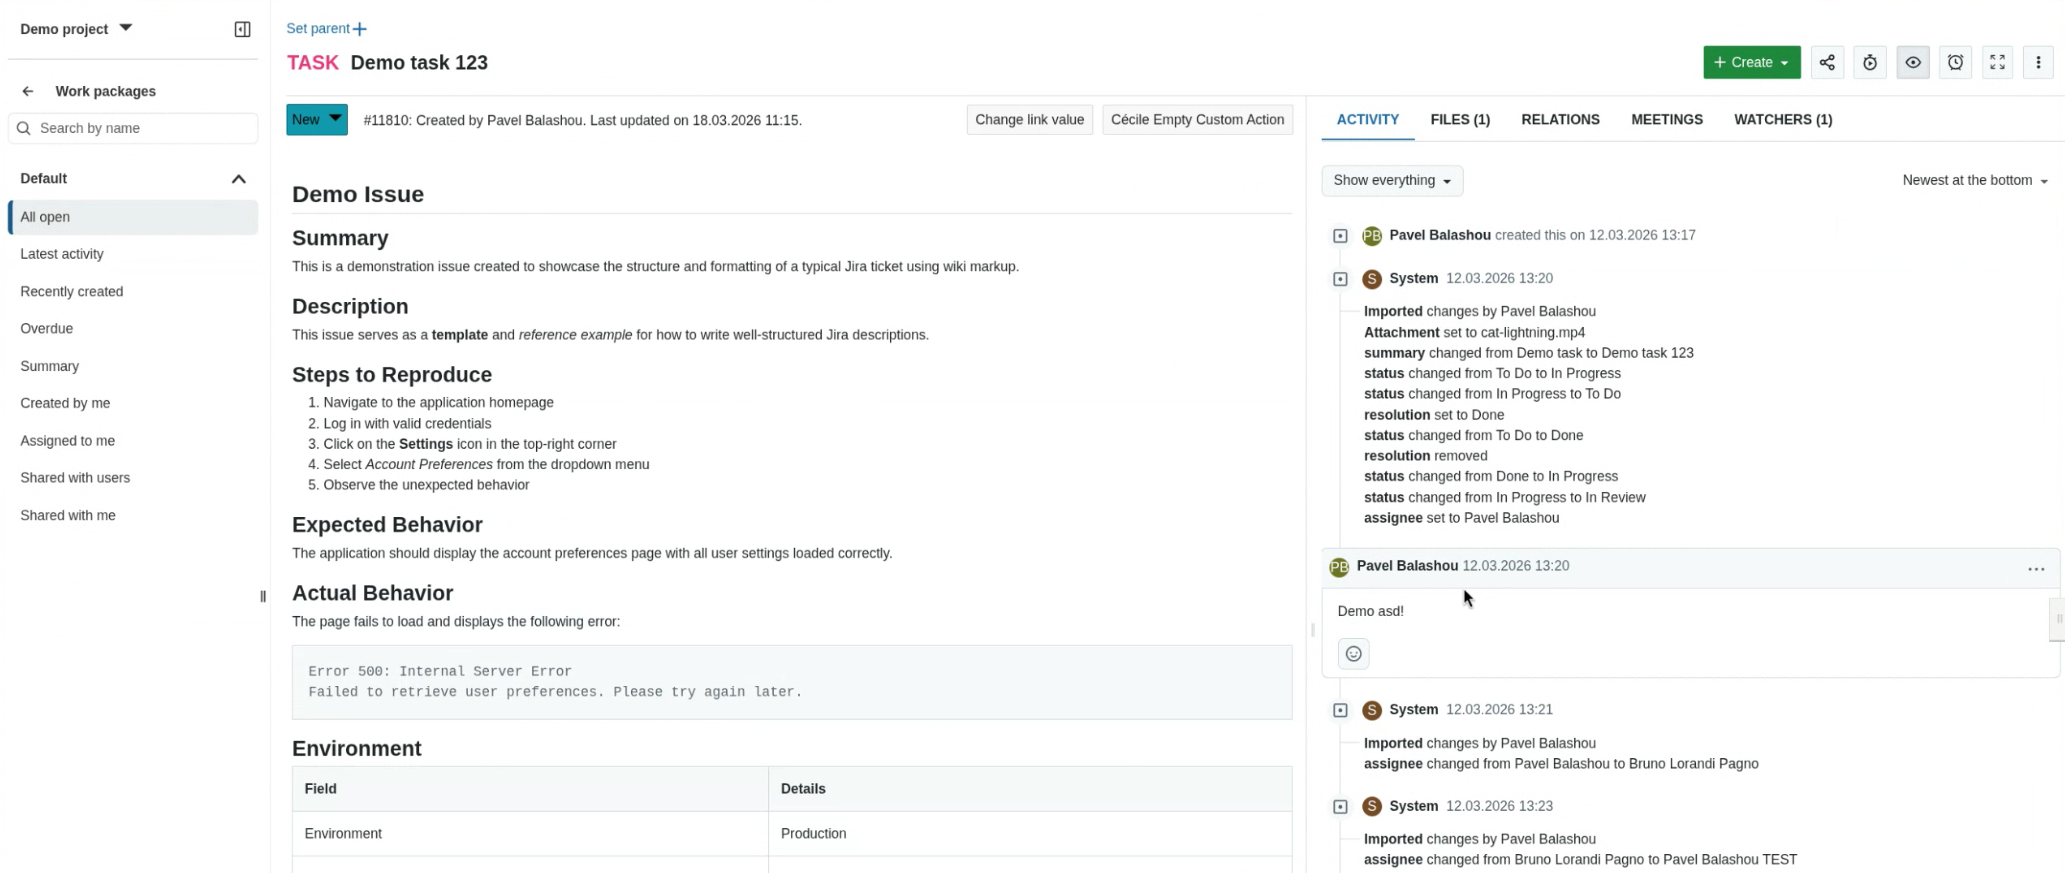
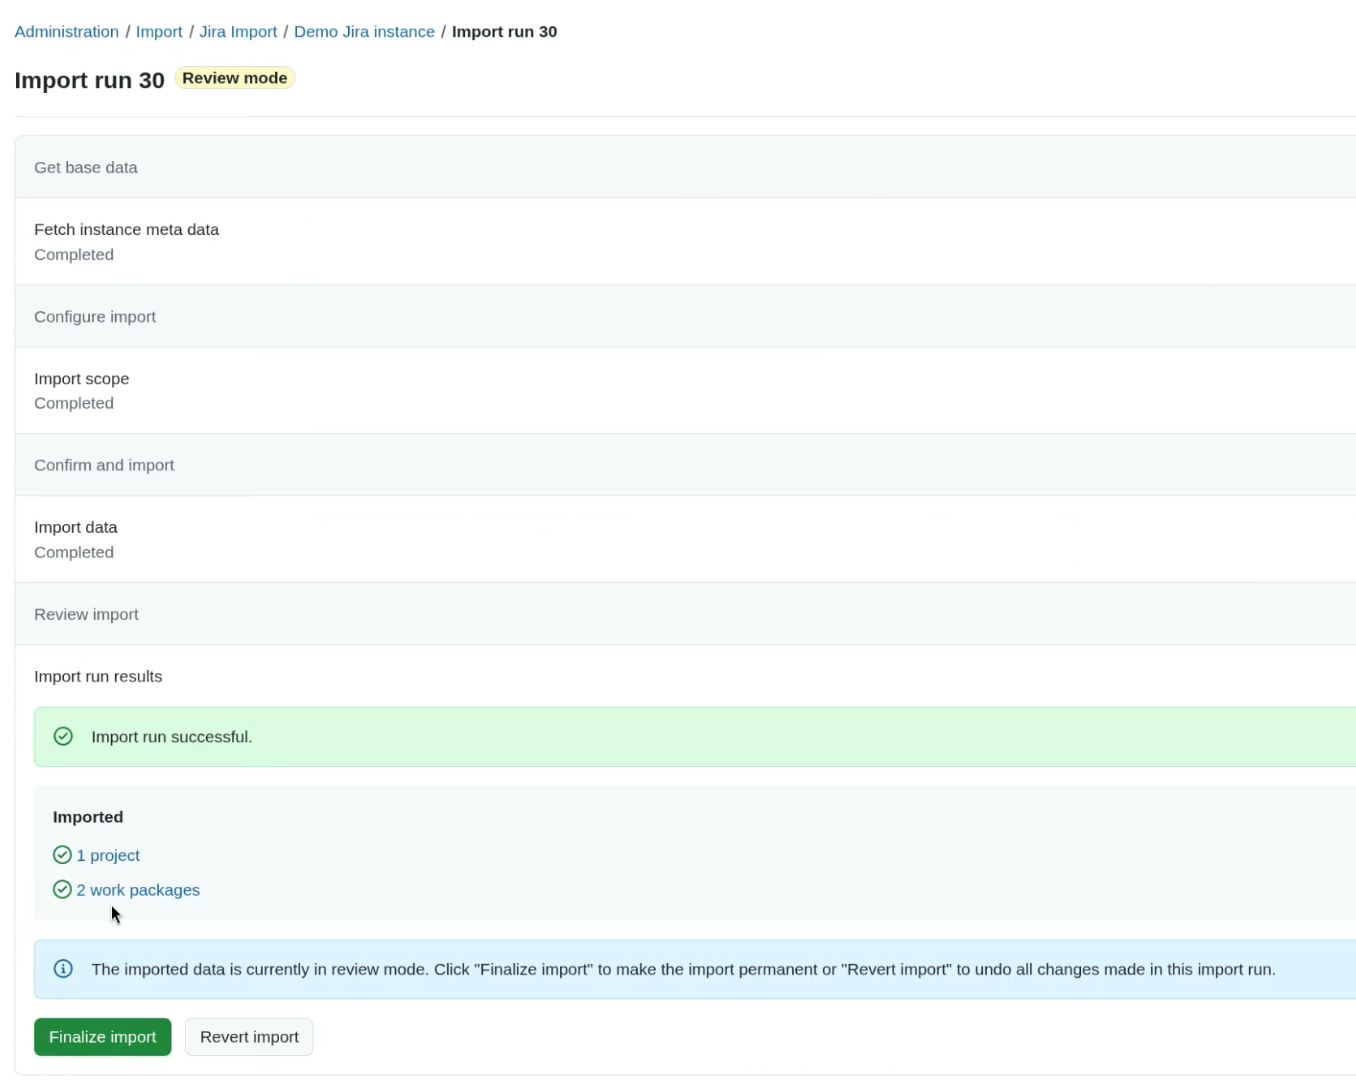
Review import
After the import completes, the data is available in review mode. You can:
- Inspect imported projects and work packages
- Validate data integrity
- Decide whether to finalize or revert the import
Finalize or revert the import
To proceed, choose one of the following actions: finalize or revert the import.
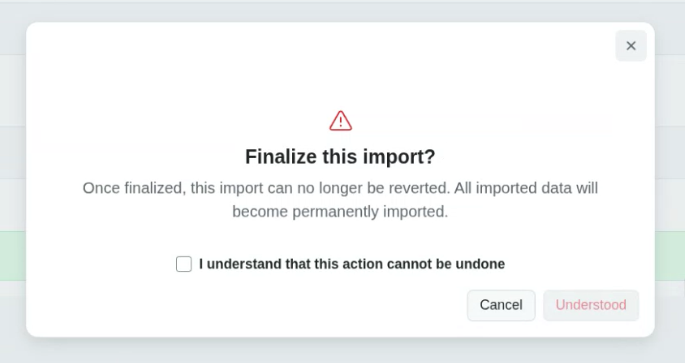
Finalize import
- Activates newly created users
- Makes imported data permanent
- Disables the option to revert the import
A confirmation warning will be shown before proceeding.
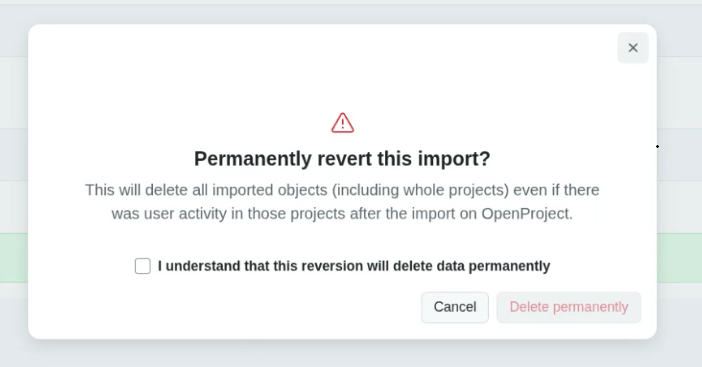
Revert import
- Removes all data created during the current import run
- Does not affect data from previous import runs
A confirmation warning will also be shown.
Nota
During review mode, any newly created users remain locked until the import is finalized.
Best practices for Jira migrations
1. Preparation
- Document your existing JIRA and Confluence configuration (projects, issue types, workflows, fields, spaces).
- Identify which data to migrate and which to archive.
- Clean up legacy data before starting.
2. Testing
- Set up a test instance of OpenProject.
- Migrate a small subset of data using one of the methods described above.
- Verify field mappings, attachments, and relationships.
3. Execution
- Perform the full migration after successful testing.
- Validate data integrity after import.
- Recreate workflows, permissions, and boards in OpenProject as required.
4. Post-migration
- Provide training to users.
- Archive or decommission the legacy systems if applicable.
Current status and next steps of the JIRA Migrator
You can follow the progress of OpenProject’s JIRA migration Stream and provide feedback.