Project life cycle
Overview
The Project life cycle feature allows organizations to define and visualize structured project phases across all projects and portfolios. This makes it easier to:
- Track the current stage of any project at a glance
- Understand portfolio-level progress
- Support decision-making and project governance
Each life cycle consists of multiple project phases, and each phase can optionally include start and finish phase gates. These help mark formal checkpoints within your project’s timeline.
Project phases appear in the overview page of each project, helping teams clearly communicate project progress.
Existing projects created before the life cycle feature is enabled will not automatically have project phases or gates enabled. New projects will also have this feature disabled by default — you must manually enable it for each project after setup.
Hinweis
While project phases and gates can be customized globally in system administration, they cannot be modified per individual project, only enabled or disabled.
By default, OpenProject includes four standard project phases:
- Initiating
- Planning
- Executing
- Closing
These four stages, based on the PM² framework are created on the global level and available for all installations. Adding new phases or editing existing ones is an Enterprise add-on.
Manage project phases (Enterprise add-on)
Hinweis
Defining project phases for the project life cycle is an Enterprise add-on and can only be used with Enterprise cloud or Enterprise on-premises. An upgrade from the free Community edition is easy and helps support OpenProject.
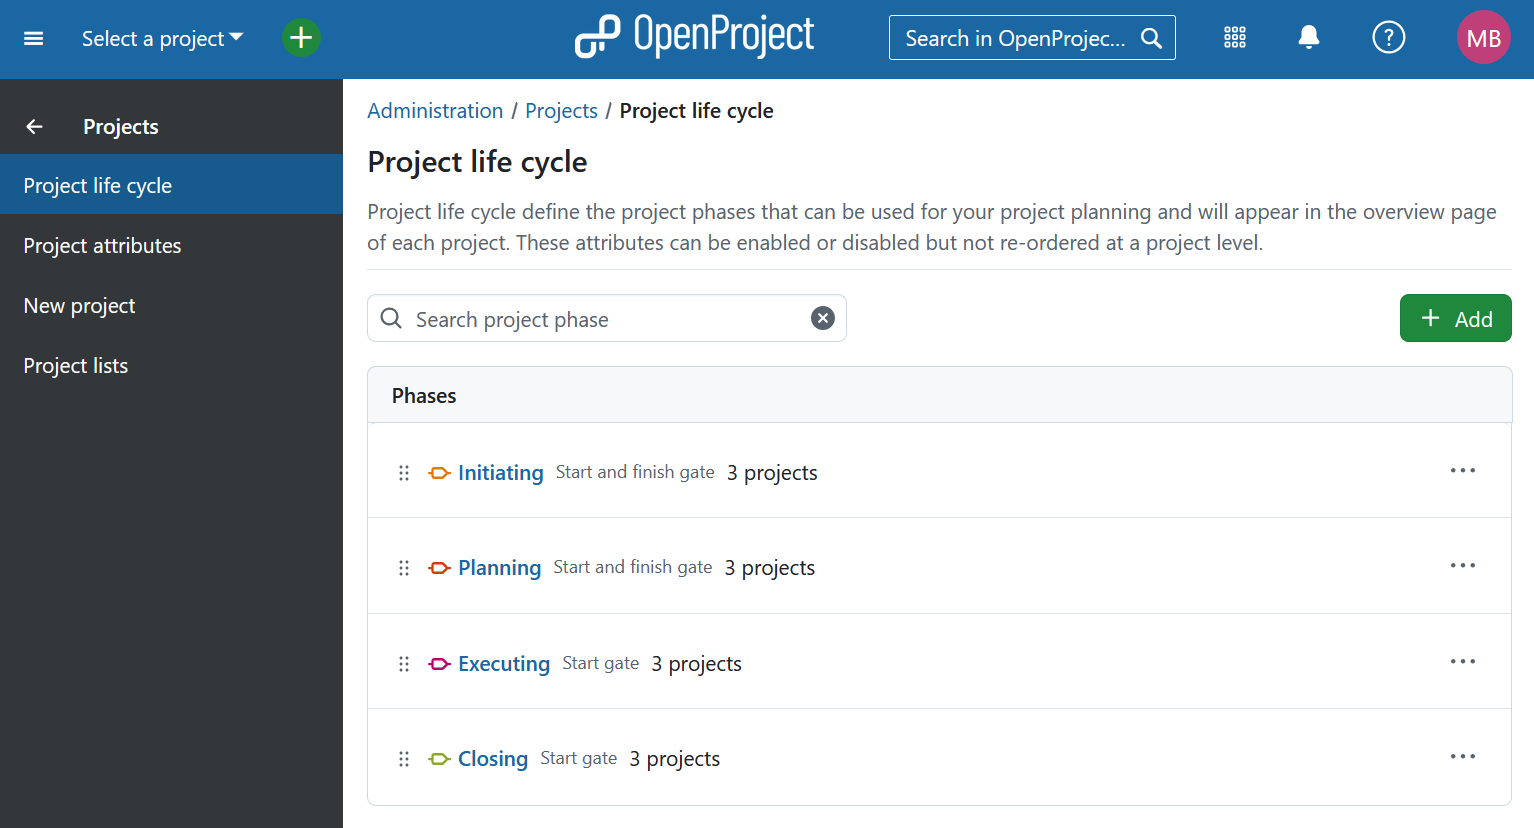
To manage project phases and gates, navigate to: Administration → Projects → Project life cycle.
Each phase can have a start gate and/or a finish gate, which are optional and configurable.
Reorder phases
Project phases are listed in order of execution. You can rearrange the order of the phases within system administration:
-
Use drag and drop to move phases into the desired order
-
Or click the More menu (three dots icon) and select Move up or Move down

Hinweis
The order of project phases is system-wide and cannot be changed per project.
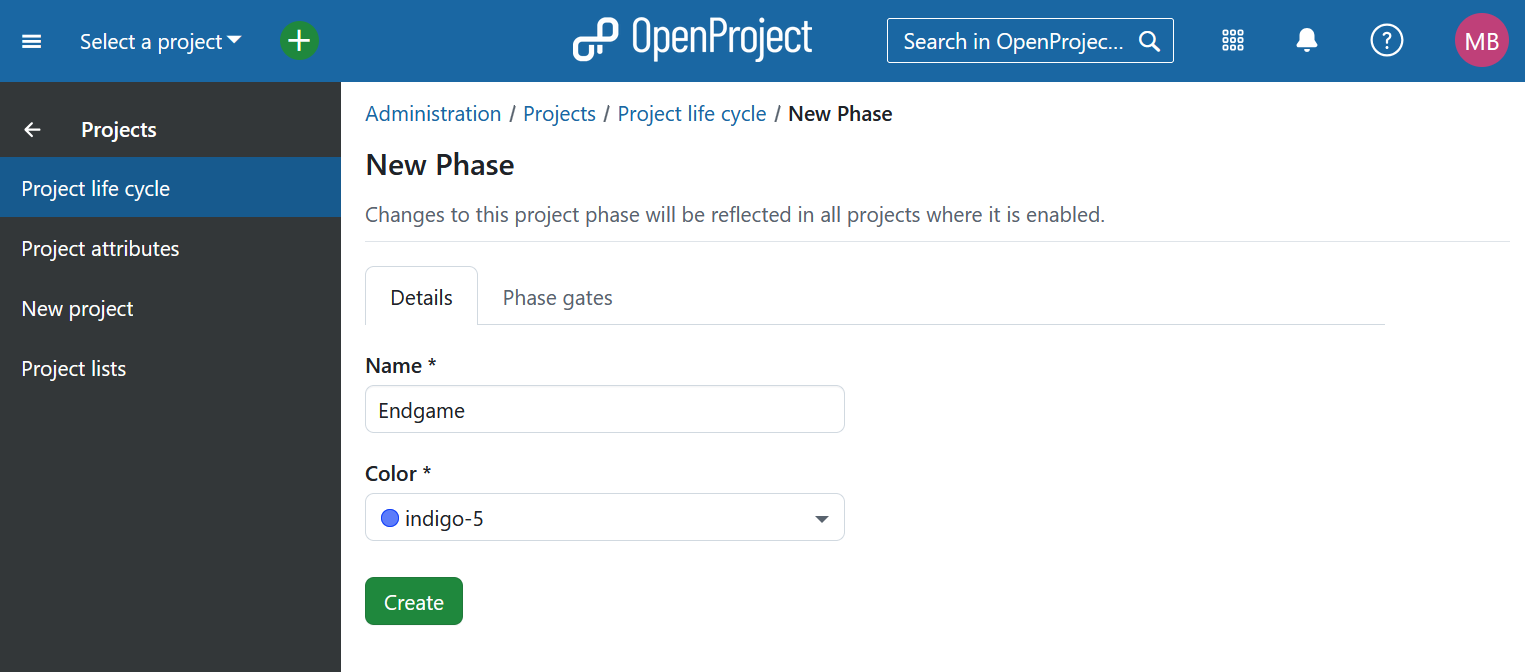
Add a project phase
To add a new project phase go to Administration → Projects → Project life cycle and click the + Add button. You can then enter a name for the new phase and choose a color to visually distinguish the phase. Click Create.
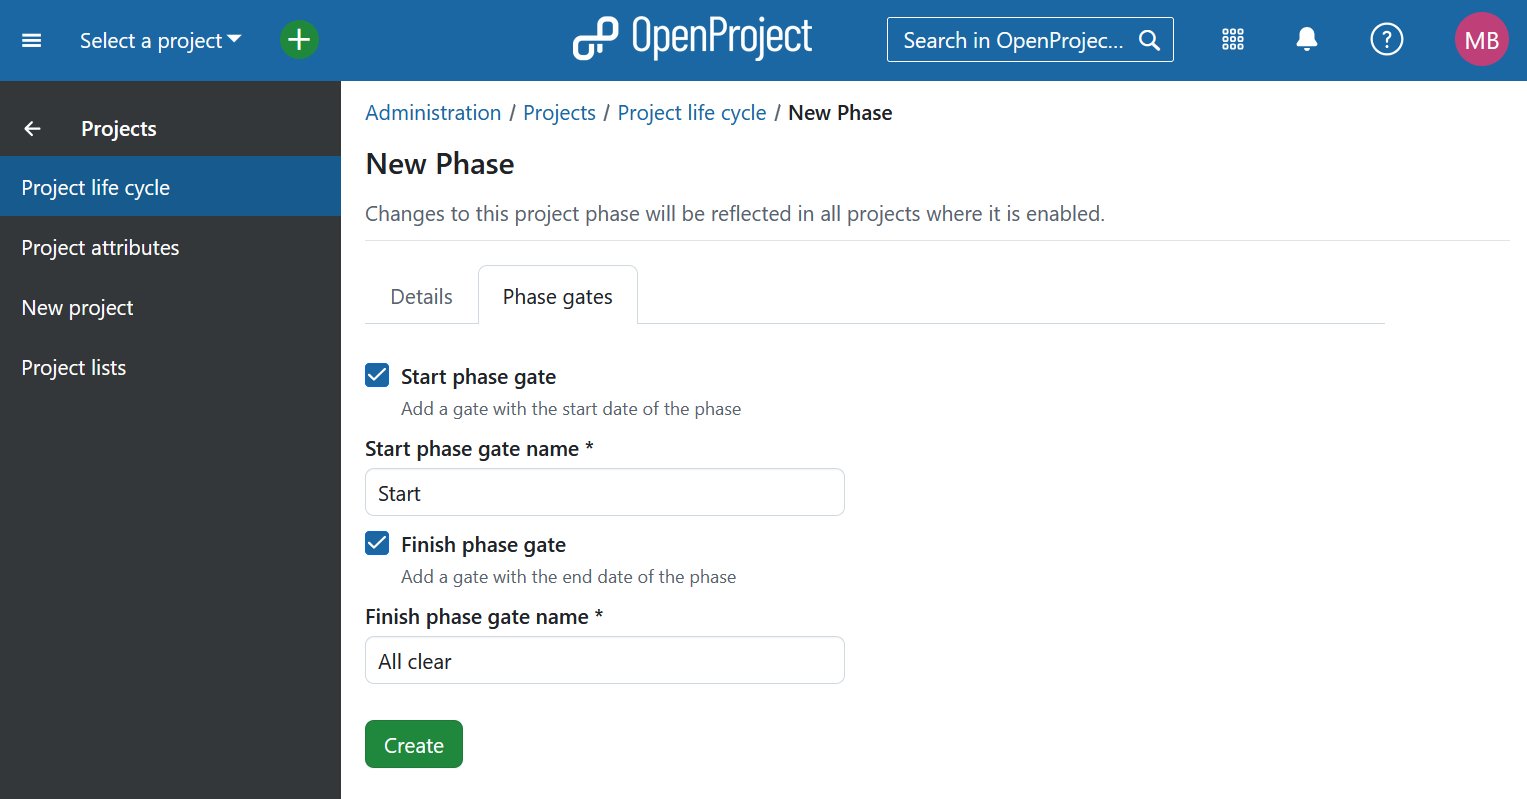
Add a phase gate
After creating the phase or while setting one up, navigate to the Phase gate tab and activate and name start and/or finish phase gates.
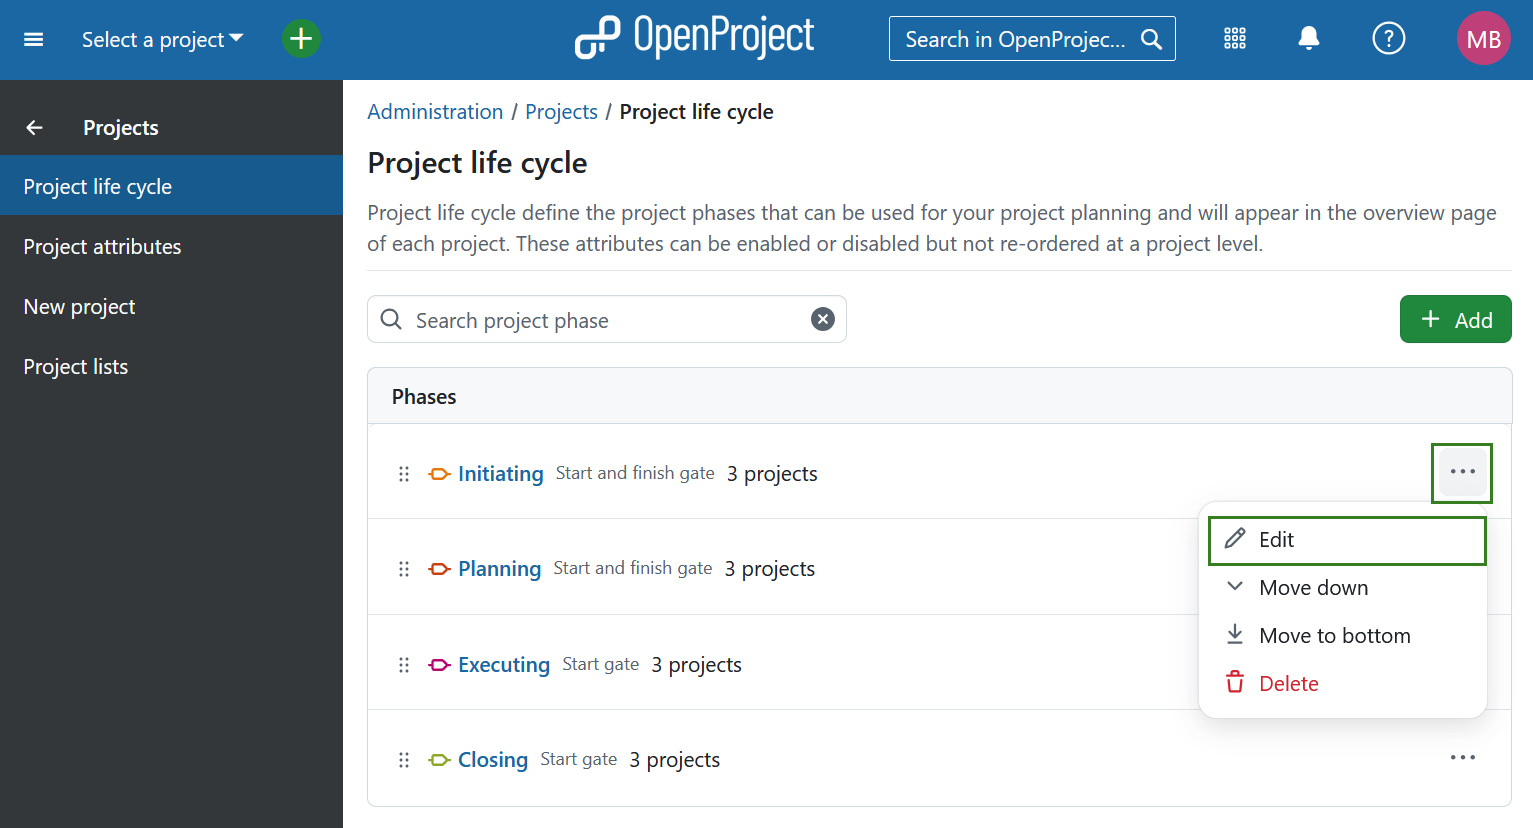
Edit a project phase
To modify an existing project phase:
- Click the phase name directly, or
- Click the More menu (three dots icon) next to the phase and choose Edit
To edit the gates associated with a phase, switch to the Phase gate tab and make the necessary adjustments.
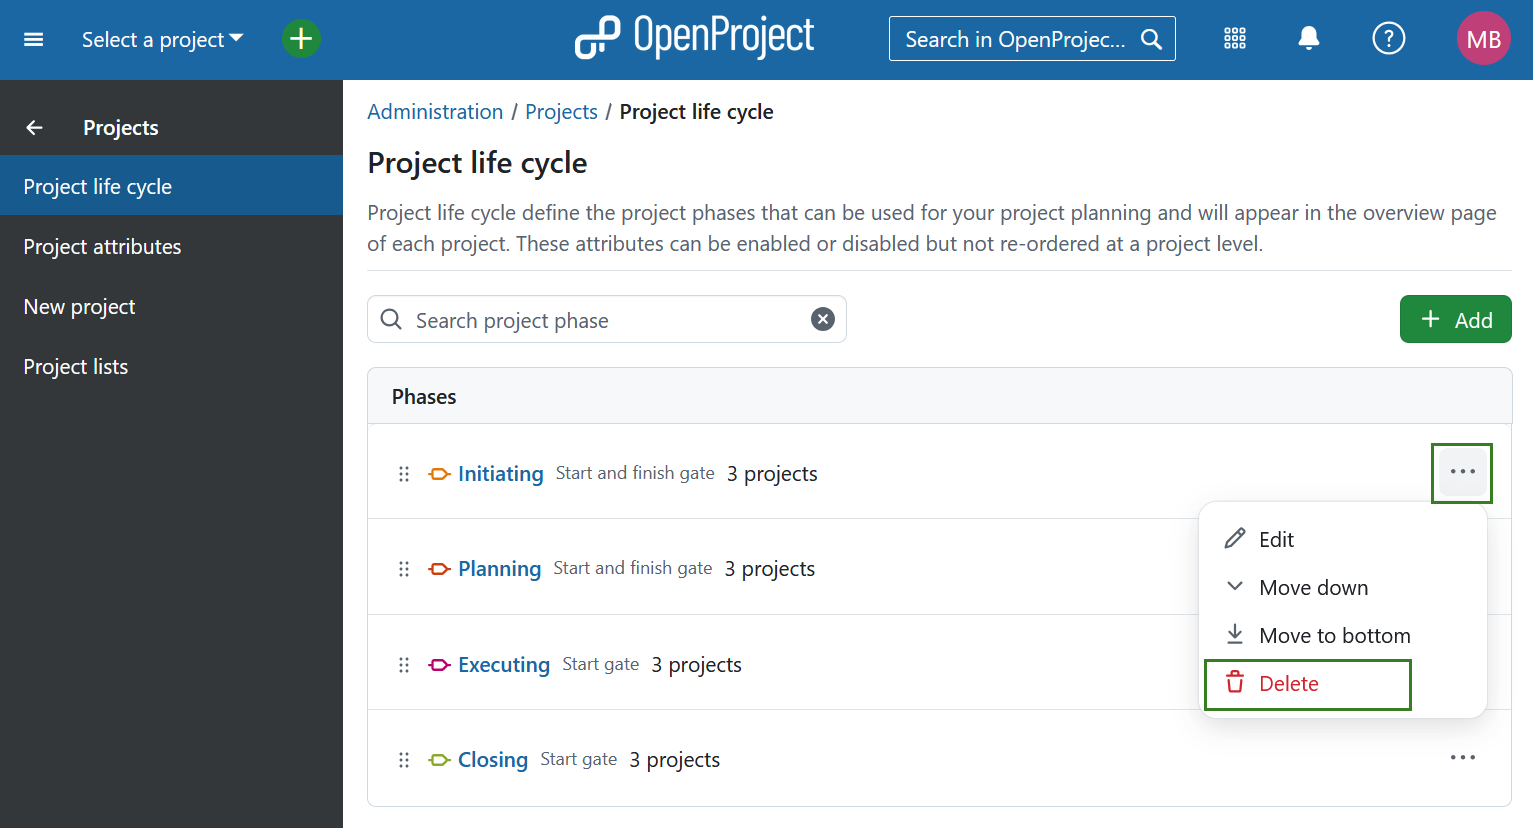
Delete a project phase
To delete an existing project phase click the More menu (three dots icon) next to the phase and choose Delete.