Gérer les projets
Dans OpenProject, vous pouvez créer des projets pour collaborer avec les membres de votre équipe, suivre les tickets, documenter et partager des informations avec les parties prenantes, et organiser les tâches. Un projet est un moyen de structurer et d’organiser votre travail dans OpenProject.
Vos projets peuvent être disponibles publiquement ou en interne. OpenProject ne limite pas le nombre de projets, ni dans l’édition Community, ni dans l’édition Enterprise cloud ou sur site.
| Sujet | Contenu |
|---|---|
| Sélectionner un projet | Ouvrez un projet sur lequel vous voulez travailler. |
| Créer un nouveau projet | Découvrez comment créer un nouveau projet dans OpenProject. |
| Créer un sous-projet | Créer un sous-projet d’un projet existant. |
| Structure du projet | Découvrez comment mettre en place une structure de projet. |
| Paramètres du projet | Configurez d’autres paramètres pour vos projets, tels que la description, la structure de la hiérarchie du projet ou configurez-le comme étant public. |
| Liste des projets | Obtenez une vue d’ensemble de tous vos projets et configurez les vues de projet. |
| Changer la hiérarchie du projet | Vous pouvez changer la hiérarchie en sélectionnant le projet parent (« sous-projet de »). |
| Rendre un projet public | Rendre un projet accessible à (au moins) tous les utilisateurs de votre instance. |
| Créer un modèle de projet | Configurez un projet et définissez-le comme un modèle pour le copier pour les projets futurs. |
| Utiliser un modèle de projet | Créez un nouveau projet basé sur un projet de modèle existant. |
| Copier un projet | Copiez un projet existant. |
| Archiver un projet | Découvrez comment archiver les projets terminés. |
| Supprimer un projet | Comment supprimer un projet. |
Cette vidéo est actuellement disponible uniquement en anglais.
Structure du projet
Les projets forment une structure dans OpenProject. Vous pouvez avoir des projets parents et des sous-projets. Un projet peut représenter une unité organisationnelle d’une entreprise, par exemple pour avoir des problèmes séparés :
- Entreprise (projet parent)
- Marketing (sous-projet)
- Ventes
- RH
- Informatique
- …
Les projets peuvent également servir pour les équipes globales travaillant sur un sujet :
- Lancer un nouveau produit
- Conception
- Développement
- …
Ou, un projet peut servir à séparer les produits ou les clients.
- Produit A
- Client A
- Client B
- Client C
Remarque
Vous devez être membre d’un projet pour le voir et y travailler.
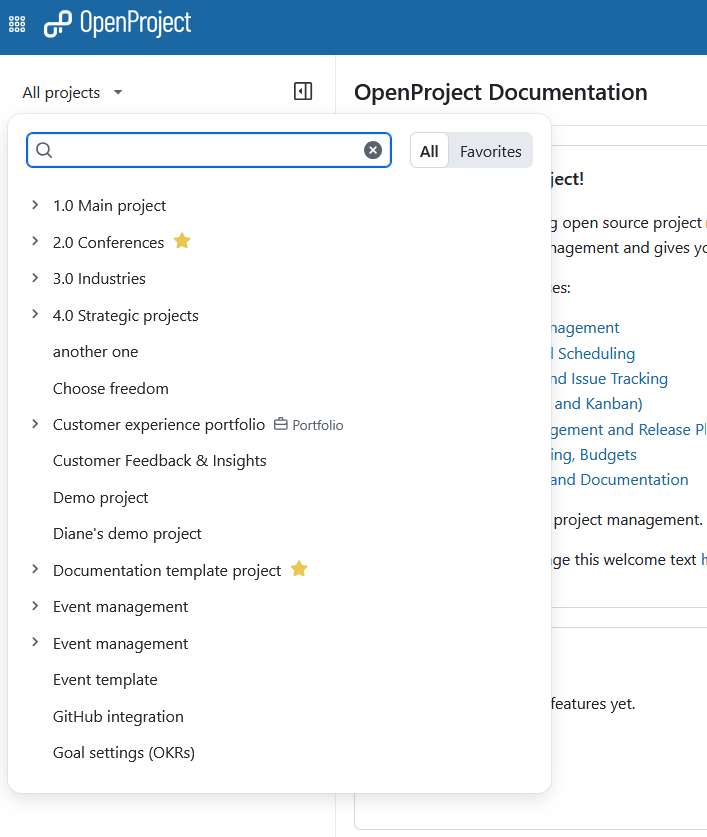
Sélectionner un projet
Découvrez comment ouvrir un projet existant dans OpenProject dans notre guide de démarrage.
Créer un nouveau projet
Découvrez comment créer un nouveau projet dans OpenProject dans notre guide de démarrage.
Créer un sous-projet
Découvrez comment créer un sous-projet dans OpenProject dans notre guide Paramètres du projet.
Paramètres du projet
Vous pouvez spécifier d’autres paramètres avancés pour votre projet. Accédez aux paramètres de votre projet en sélectionnant un projet et en cliquant sur -> Paramètres du projet -> Informations. Ici, vous pouvez :
-
Définir si le projet doit avoir un parent en sélectionnant Sous-projet de. De cette façon, vous pouvez modifier la hiérarchie du projet.
-
Saisissez une description détaillée pour votre projet.
-
Définir l’identifiant du projet par défaut.
-
Définir un projet comme public. Cela signifie qu’il est accessible sans besoin de connexion à OpenProject.
Lisez le guide complet sur les paramètres du projet dans OpenProject.